I have been using VDR – the Video Disk Recorder – on my own Linux host for over 20 years. It has been the primary way of consuming broadcast TV content in our household since 2004. Until now my VDR setup has only been capable of using DVB-C channels in SD, due to the non-HD-capable tuner PCI cards. But otherwise its features in recording (timeshifting) capabilities have always been superior to any commercially available TV or set-top box.
My VDR setup history:
- Gen 1 in 2004: Asus Pundit chassis with Intel Celeron, a Hauppauge WinTV-NOVA-T (DVB-T only, with a really bad tabletop antenna) and a DXR3 card for MPEG decoding
- Gen 2 in 2005: See the details here (briefly: still the original Asus Pundit chassis, this time with one full-featured SD DVB-C PCI card with MPEG decoding)
- Gen 2.1 in 2007: See the details here (briefly: added a budget SD DVB-C PCI card)
- Gen 2.2 in 2013: The small power supply of the Pundit gave in, so I got the first workstation I could still find at that time with two PCI (not PCIe!) slots: Lenovo ThinkCentre M82 tower, with Intel i3-2120. Functionally it was a software reinstall with the same old DVB-C cards.
- Gen 3 now in 2025: For the upcoming HD-only era, a full rebuild of the system, using USB-connected HD DVB-C/DVB-S/DVB-T2 tuners.
This is the post to describe how I did the 2025 rebuild of my VDR setup.
Hardware:
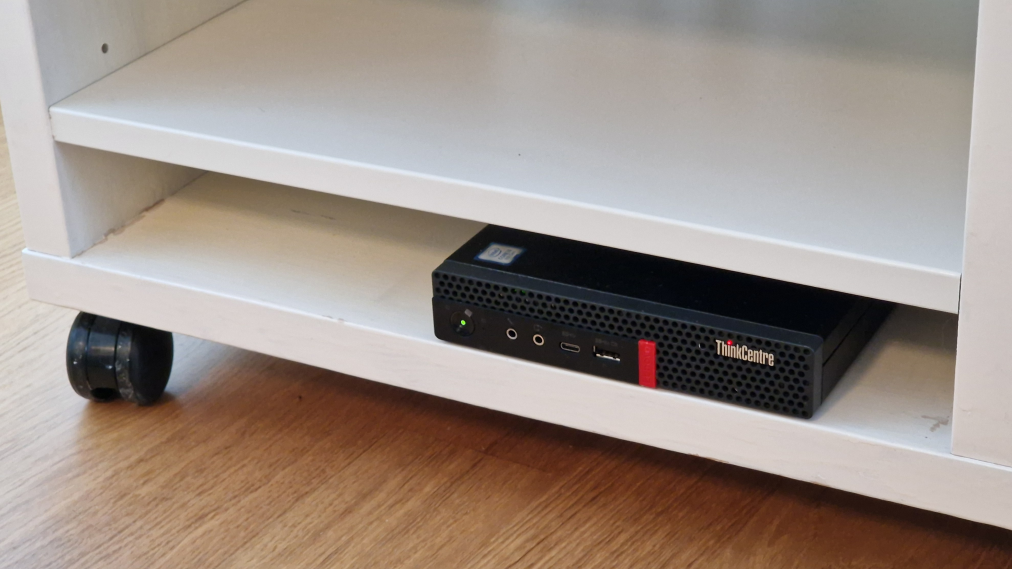
- Refurbished Lenovo ThinkCentre M720q from 2018, with Intel i5-8500T processor (6c/6t) and 8 GB of RAM
- 2 TB NVMe M.2 storage (there is room for one 2.5″ SSD if need arises)
- 2 x Hauppauge WinTV-dualHD (with dual DVB-C/DVB-S/DVB-T2 tuners each, so total of 4 DVB tuners), USB-connected
- Samsung TV (HDMI-connected to the VDR host) and Samsung soundbar (optically connected to the TV)
- Serial port-connected infrared receiver for remote control
- The trusty 20+ years old IR remote control from WinTV-NOVA-T
Software:
- Debian Linux 13 Trixie (currently Testing, not officially released until next summer or so)
- VDR 2.6.9 with EPGSearch, Live, Streamdev-server and Femon plugins from Debian packaging
- SoftHDDevice plugin compiled from sources (to provide the HD video and audio output to the TV)
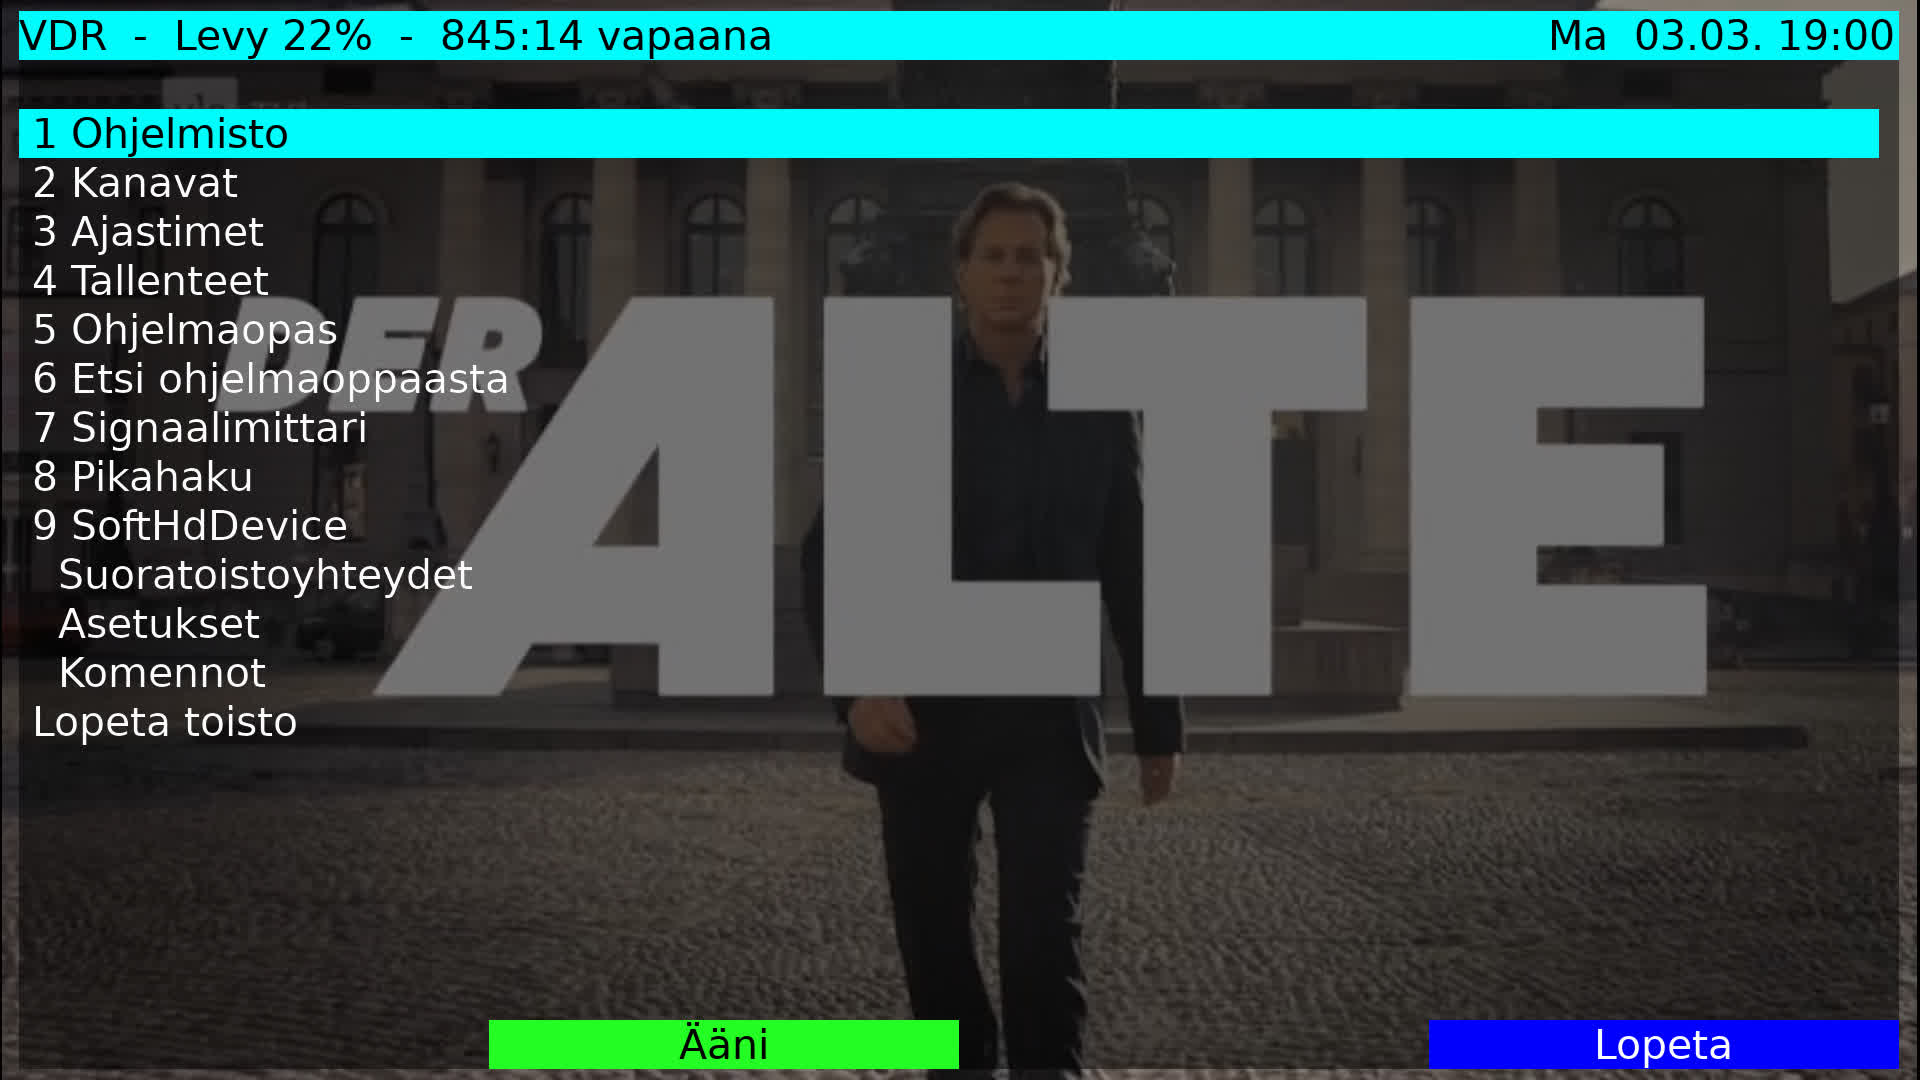
Some screenshots in full HD (1920×1080), using the Classic VDR “skin”:

Installation steps
These steps may or may not be exactly accurate but at least they will give me some hints when I next rebuild the system again in 10 years or so!
Debian Linux installation
- Debian netinstall image on USB, basic text-based install with manual partitioning (512 MB EFI, 20 GB root, 4 GB swap, the rest for
/bigdisk) and SSH server only (no graphical desktop environment or window managers) - Additional usual packages after the install: postfix, tmux, git, vim
- Timesyncd configuration to use local NTP servers
- VDR packages: vdr, vdr-plugin-epgsearch, vdr-plugin-live, vdr-plugin-streamdev-server
- Optional: Reconfiguring the system power button to reboot instead of powering off:
sudo mkdir /etc/systemd/logind.conf.d
echo -e "[Login]\nHandlePowerKey=reboot" | sudo tee /etc/systemd/logind.conf.d/local.conf
sudo systemctl restart systemd-logind.service
Download the DVB tuner firmware files from this repo and save them in /lib/firmware:
- https://github.com/CoreELEC/dvb-firmware/blob/master/firmware/dvb-demod-si2168-b40-01.fw
- https://github.com/CoreELEC/dvb-firmware/blob/master/firmware/dvb-tuner-si2157-a30-01.fw
SoftHDDevice plugin installation
Install additional Debian packages for compiling the plugin:
- build-essential, pkg-config
- vdr-dev, ffmpeg
- libavcodec-dev
- libx11-xcb-dev, libxcb-randr0-dev, libxcb-screensaver0-dev, libxcb-dpms0-dev, libxcb-icccm4-dev, libxcb-ewmh-dev
- libva-dev, libegl-dev, libglu1-mesa-dev
- libalsa-ocaml-dev, alsa-utils (for the “aplay -l” command if required)
git clone https://github.com/ua0lnj/vdr-plugin-softhddevice
cd vdr-plugin-softhddevice
make
sudo make install
Add /etc/vdr/conf.avail/softhddevice.conf and symlink it to /etc/vdr/conf.d/50-softhddevice.conf:
[softhddevice]
-a hdmi
-v va-api-egl
Also add vdr user to the audio group in /etc/group.
Xorg installation
This step installs Xorg but no window manager, and ensures X is started when VDR is started.
sudo apt install xorg
git clone https://github.com/joukewitteveen/xlogin
cd xlogin
sudo make install
sudo systemctl enable xlogin@vdr

sudo mkdir /etc/systemd/system/vdr.service.d/
sudo wget https://raw.githubusercontent.com/VDR4Arch/vdr4arch/refs/heads/master/vdr-xorg/vdr-xorg.conf -O /etc/systemd/system/vdr.service.d/vdr-xorg.conf
Configuring the serial IR receiver
sudo apt install setserial
echo -e "install serial_ir /usr/bin/setserial /dev/ttyS0 uart none; modprobe --ignore-install serial_ir" | sudo tee /etc/modprobe.d/serial_ir.conf

# Configuration file for the old WinTV-NOVA-T remote
sudo wget https://gist.githubusercontent.com/markkuleinio/93eb80dd051dc913b7a049b07de7502b/raw/remote.lirc.conf -O /etc/lirc/lircd.conf.d/remote.lirc.conf

# Rename the existing conf away
mv /etc/lirc/lircd.conf.d/devinput.lircd.conf /etc/lirc/lircd.conf.d/devinput.lircd.conf.disabled
In /etc/lirc/lirc_options.conf, set “driver = default” (instead of devinput).
Reconfiguring Linux to ignore the IR receivers of the DVB tuners
Update on 2025-03-05: This solution below appears not to be fully working. Apparently systemd-logind.service gets started before the hwdb/udev rule changes kick in, thus the DVB tuner IR receivers are still in the watch list for systemd-logind.service (see for any “Watching system buttons” logs in “sudo journalctl -b | grep systemd-logind” output). My current workaround is to restart systemd-logind.service later, just before starting VDR:
# /etc/systemd/system/vdr.service.d/vdr-restart-systemd-logind.conf
[Service]
ExecStartPre=/usr/bin/systemctl restart systemd-logind.service
There is a Linux feature that the power button of the IR remote is recognized as a press of the system power button by default. In this hardware setup the DVB tuners include IR receivers and they pick up the remote signal, causing system to shutdown/reboot when I expected just VDR to check for shutdown conditions. Let’s just ignore the IR receivers on the DVB tuners.
# To find out the "offending" IR receivers:
sudo journalctl -b | grep /dev/input/event
# Do this for both tuners (they should return the same values though):
udevadm info --attribute-walk /dev/input/event12
# See the values under .../input12
#    ATTRS{id/bustype}=="0003"
#    ATTRS{id/product}=="8265"
#    ATTRS{id/vendor}=="2040"
#    ATTRS{id/version}=="0100"
echo -e "# Hauppauge IR receivers\nid-input:modalias:input:b0003v2040p8265e0100*\n ID_INPUT=" | sudo tee /etc/udev/hwdb.d/99-ignore-hauppauge-IR-remotes.hwdb
sudo systemd-hwdb update

# Also remove the power-switch tag with udev rules
echo -e 'SUBSYSTEM=="input", KERNEL=="event*", ATTRS{name}=="Hauppauge WinTV-dualHD DVB", TAG-="power-switch"' | sudo tee /etc/udev/rules.d/99-input-ignore-hauppauge-IR-remotes.rules
sudo udevadm control --reload-rules
sudo udevadm trigger
sudo systemctl restart systemd-logind.service
Let me know if you have a simpler way to do this.
Configuring EDID to support starting without TV connected
From https://en.wikipedia.org/wiki/Extended_Display_Identification_Data:
Extended Display Identification Data (EDID) and Enhanced EDID (E-EDID) are metadata formats for display devices to describe their capabilities to a video source (e.g., graphics card or set-top box). The data format is defined by a standard published by the Video Electronics Standards Association (VESA).
This data needs to be preinstalled if the TV/monitor is not connected at least in the standby mode when the system starts.
sudo mkdir /lib/firmware/edid
# Find out the connected display
grep ^connected /sys/class/drm/*/status
# Example:
# /sys/class/drm/card0-HDMI-A-2/status:connected
# Copy the edid file from the connected monitor:
sudo cp /sys/class/drm/card0-HDMI-A-2/edid /lib/firmware/edid/edid.bin
# (If you want to inspect it, install edid-decode package and run edid-decode with the edid.bin file)
To make the system to be able to use the edid.bin file during the boot, it needs to be included in the initramfs:
# Copy the script from GitHub
sudo wget https://gist.githubusercontent.com/markkuleinio/a319e9708e2e0f3e3e3cd8e6e15b866b/raw/include-edid-data -O /etc/initramfs-tools/hooks/include-edid-data
sudo chmod +x /etc/initramfs-tools/hooks/include-edid-data
# Rebuild initramfs
sudo update-initramfs -u
# Verify if unsure
lsinitramfs "/boot/initrd.img-$(uname -r)" | grep edid
Now edit /etc/default/grub to actually use the TV/monitor: add “video=HDMI-A-2:1920x1080@60D drm.edid_firmware=HDMI-A-2:edid/edid.bin” in the existing GRUB_CMDLINE_LINUX_DEFAULT line, for example:
GRUB_CMDLINE_LINUX_DEFAULT="quiet video=HDMI-A-2:1920x1080@60D drm.edid_firmware=HDMI-A-2:edid/edid.bin"
Then run “sudo update-grub“.
VDR configurations
Edit /etc/vdr/conf.d/00-vdr.conf as needed, like:
--video=/bigdisk/video--shutdown=/usr/lib/vdr/vdr-shutdown.wrapper
Edit /etc/vdr/plugins/streamdevhosts.conf as needed to allow other devices to access the streams.
VDR’s remote.conf can be downloaded here: https://gist.githubusercontent.com/markkuleinio/da5bbe5f89ce01df3e3d0d4bd5970f7e/raw/remote.conf
Channel scanning:
sudo apt install w-scan
sudo w_scan -f c -c FI -o 21 -E 0 > channels.conf
Add shutdown hook in /etc/vdr/shutdown-hooks/S91.wakeup to add a wakeup timer (to be able to shutdown the host between recordings):
if [ -e /tmp/no-vdr-shutdown ]
then
  echo 'ABORT_MESSAGE="/tmp/no-vdr-shutdown is present, not shutting down."'
  exit 1
fi
WAKETIME=$(($1 - 300))
WAKETIMESTRING=`date -d @$WAKETIME`
echo 0 > /sys/class/rtc/rtc0/wakealarm
echo $WAKETIME > /sys/class/rtc/rtc0/wakealarm
logger -t vdr-shutdown-wakeup "Wakeup at $WAKETIMESTRING"
exit 0
Other information
VDR Live plugin is accessible on port 8008.
Streamdev-server plugin is accessible on port 3000. The stream URLs for channels and recordings can be opened in the VLC player.
Screenshots can be taken from the shell: ffmpeg -f x11grab -s 1920x1080 -i :0.0 filename.jpg (it will emit a lot of errors but the file is successfully saved anyway)
Special thanks for getting this far go to helpful authors in the VDR Portal forum. Some threads there: